Recording history has been an integral part of the story of mankind since the dawn of civilization. Dating and tracking our history is essential to understanding our story of humanity. Timelines can be a useful tool for better understanding our past events.
This blog post will be a tutorial on how to use the “create a timeline” tool on the World Book: Timelines database, opens a new window available on the STPL website.
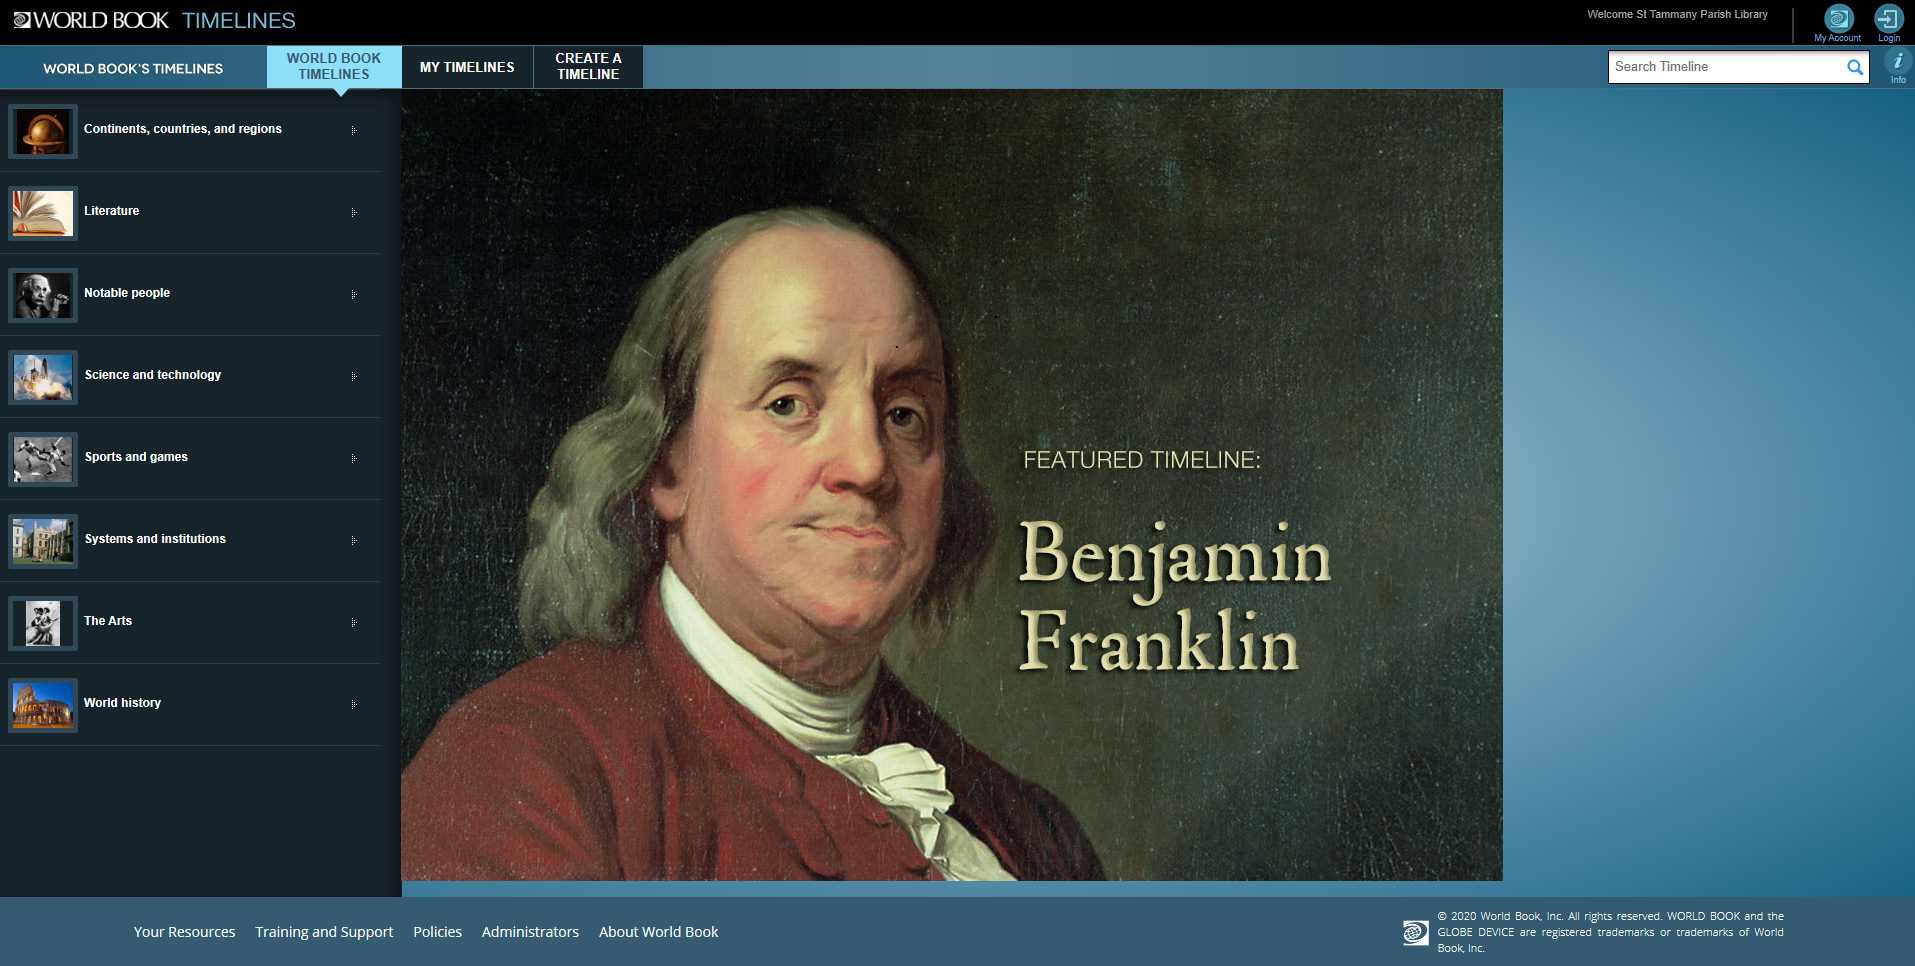
1. This is the World Book: Timelines home page. From here you can access all Timelines has to offer. For this tutorial however, we will focus on the “create a timeline” tab. Please select the "create a timeline tab" located at the top left hand side of the page.
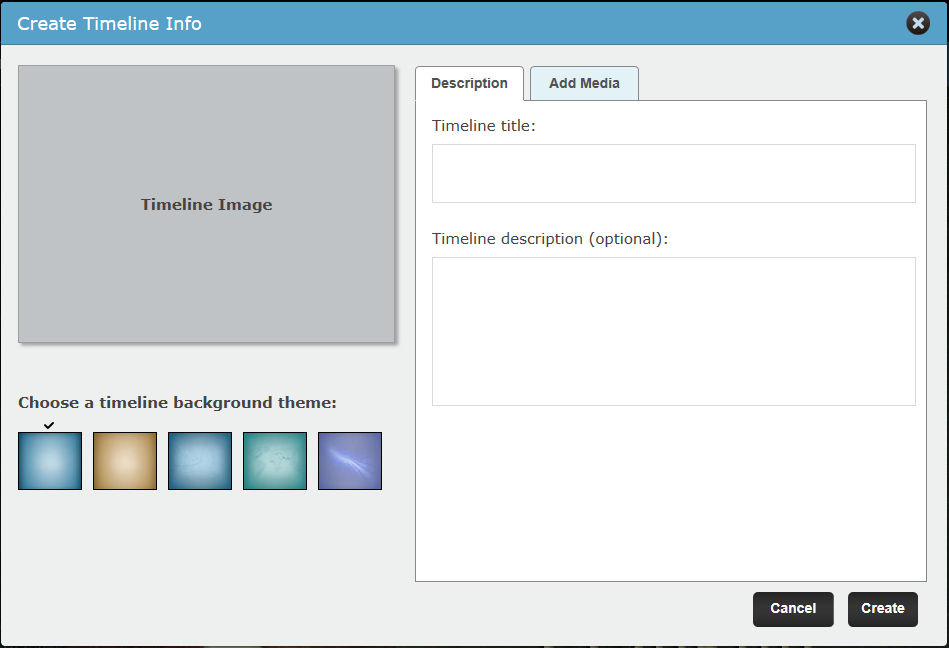
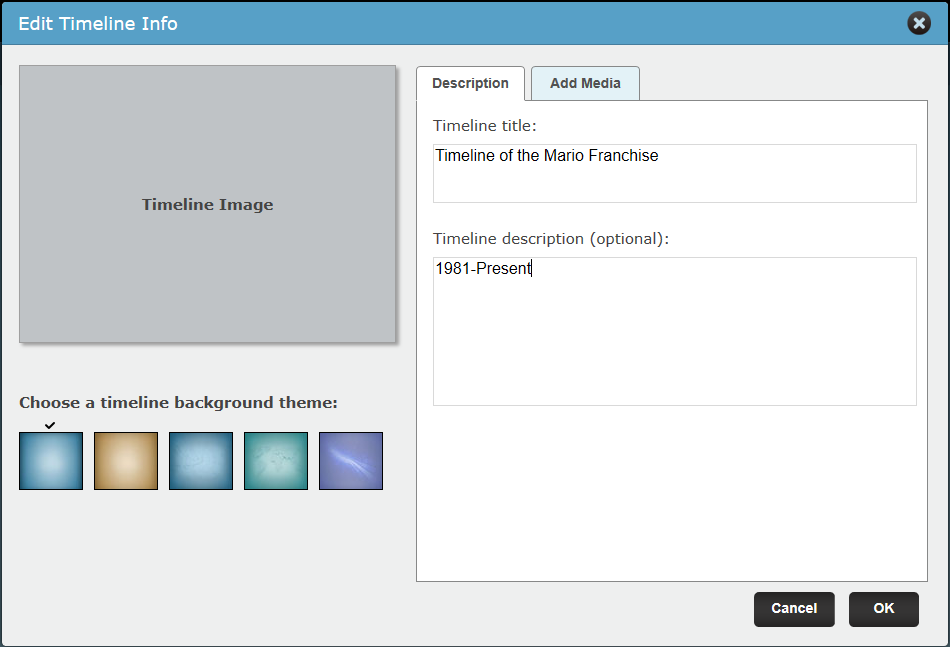
2. This is the Create Timeline window. Here you can enter the timeline title and a description of the timeline. You can also choose a background color at this time. Next, we will click on the “Add Media” tab.
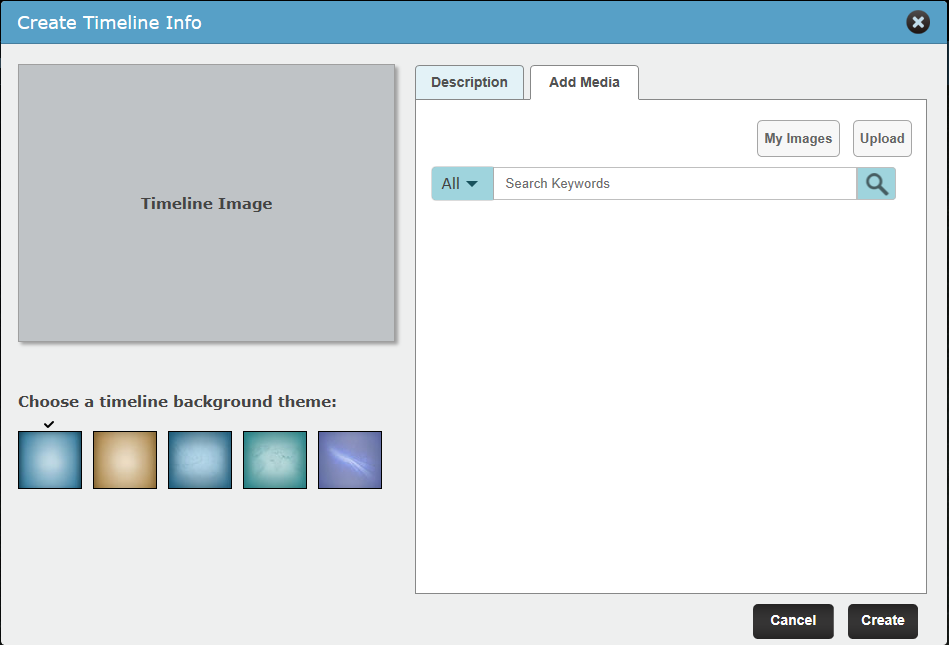
3. On this tab you can add images to enhance the timeline. You can choose from a variety of existing images available through Timelines or you can upload one of your choosing. For now, please return to the “Description” tab.
4. We will be using the franchise history of Nintendo’s beloved mascot and our favorite plumber, Mario, as an example on how to create a timeline today! All you have to do in this step is place the descriptors in the areas titled “Timeline Title” and “Timeline description.”
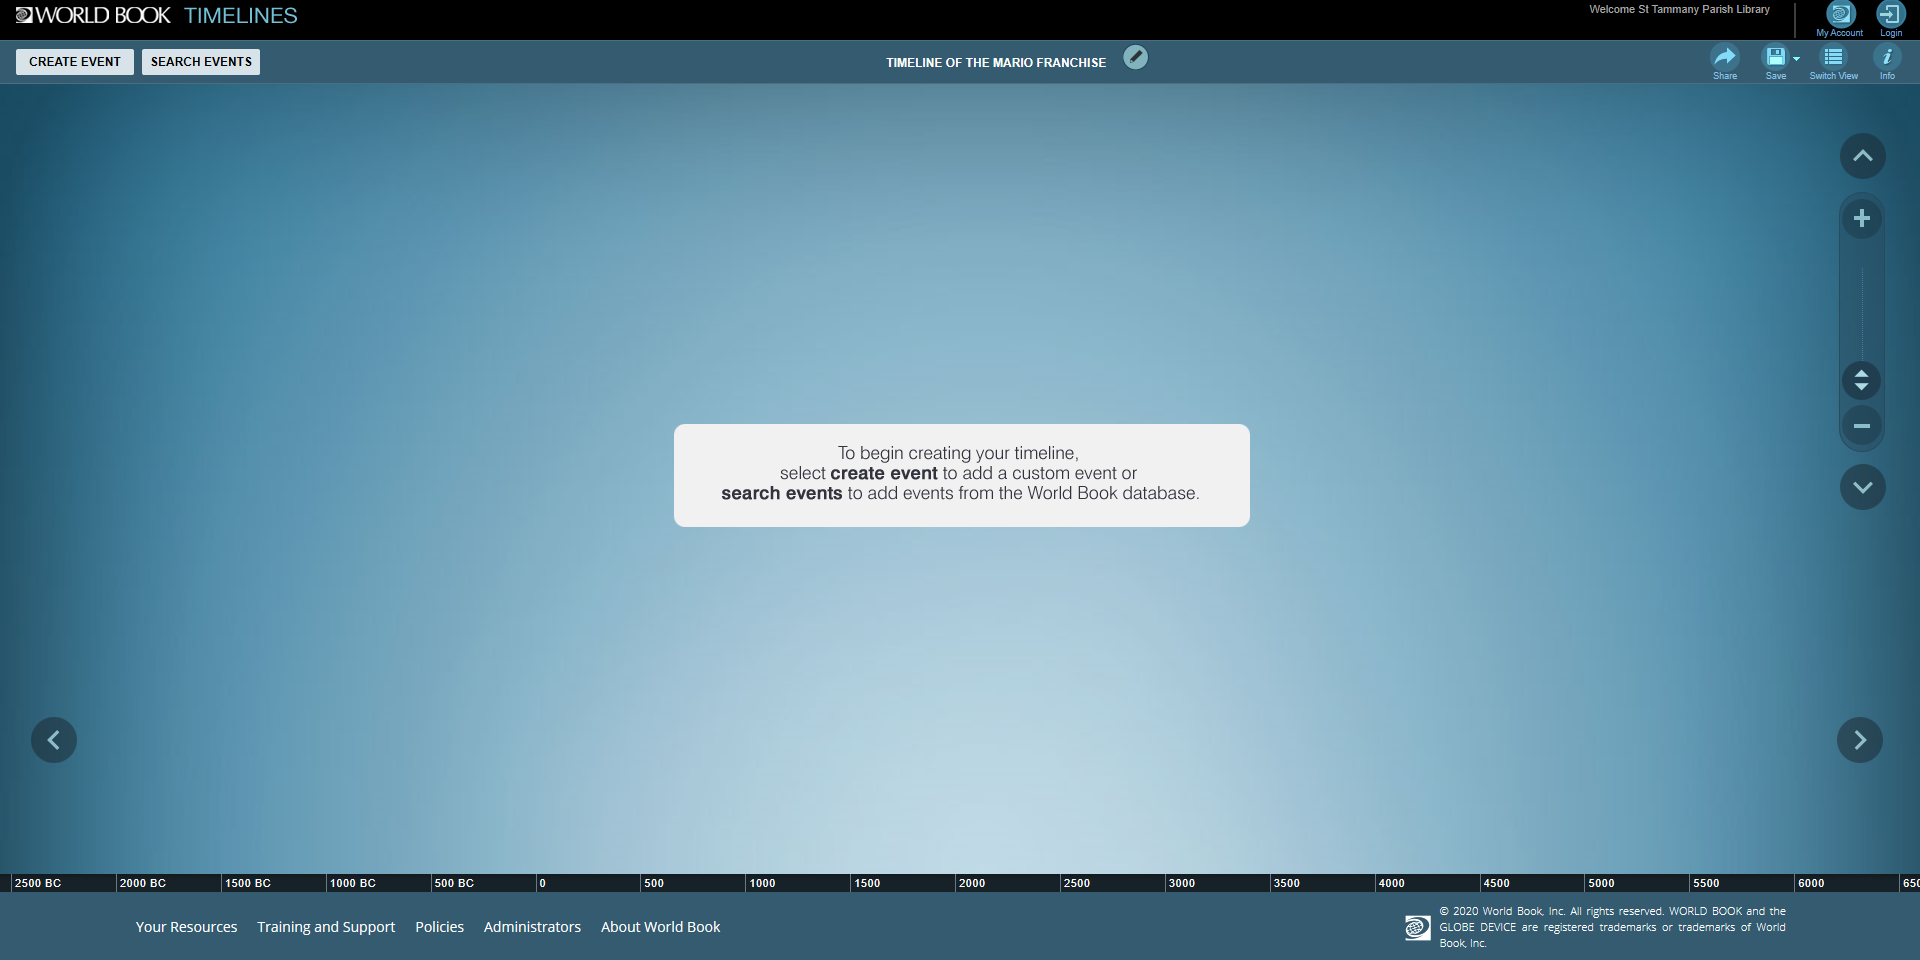
5. Select “Create Event” on the top left of the Timelines window.
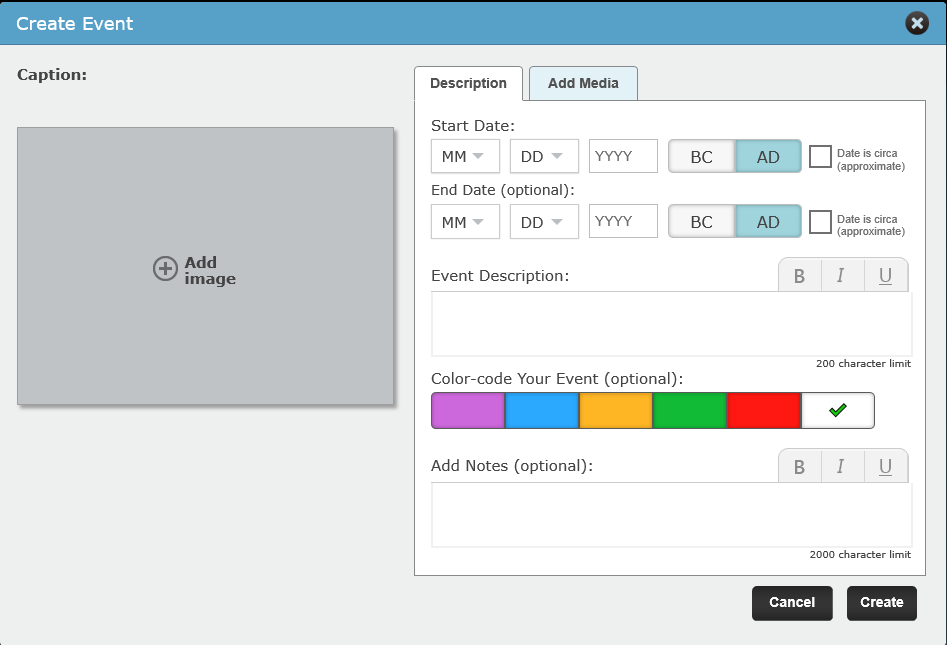
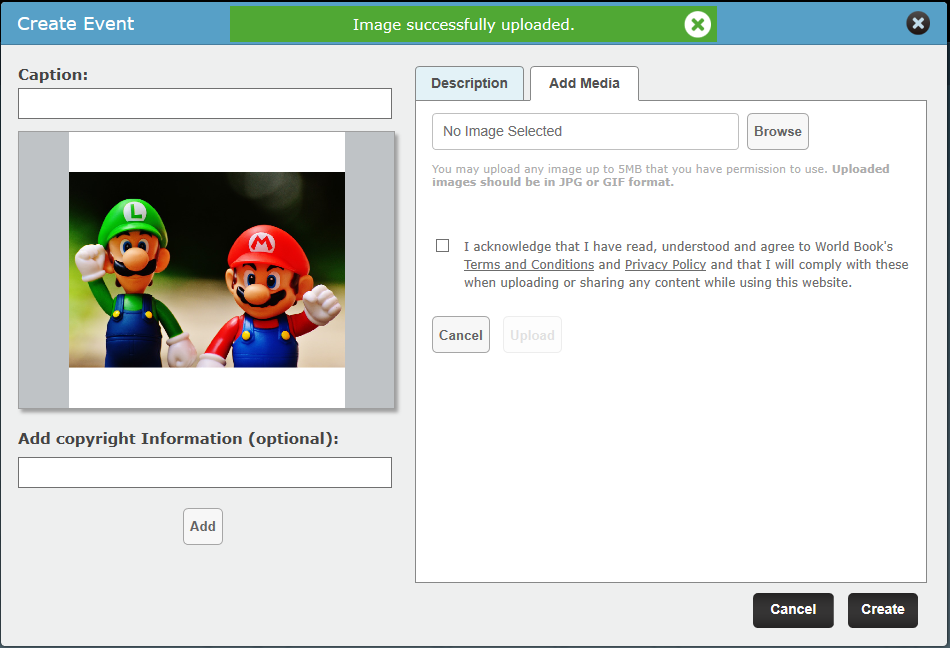
6. In this step you will create an event to place on your timeline! Before we do this however let’s click on the “Add Media” tab.
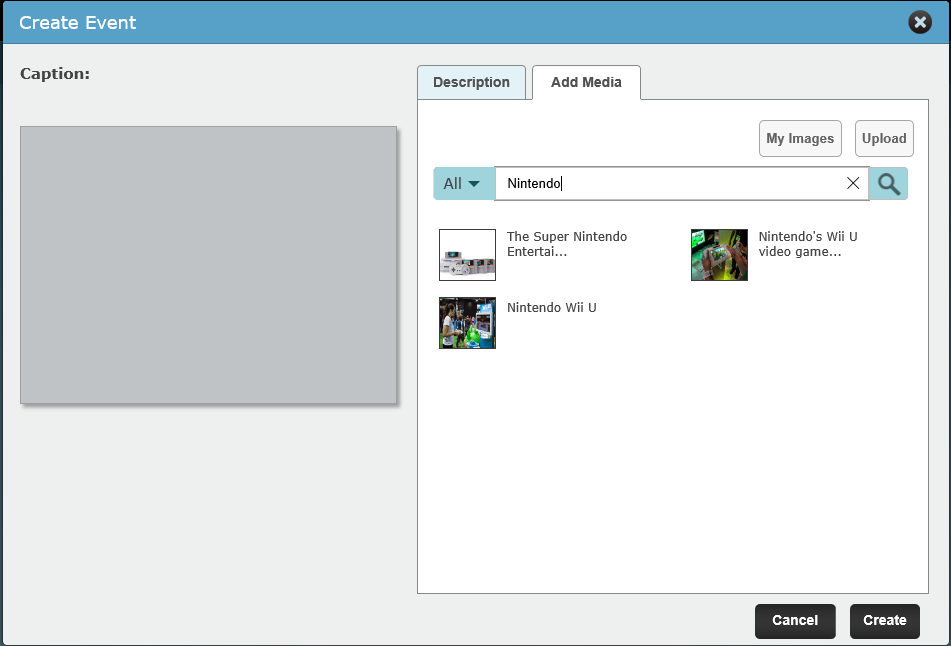
7. In the “Add Media” tab you will upload or select images to identify your timeline event. For the purposes of this tutorial we used a royalty free picture of Mario and Luigi to signify the release of Super Mario Bros in Japan (adding this descriptor will be explained in step 8.)
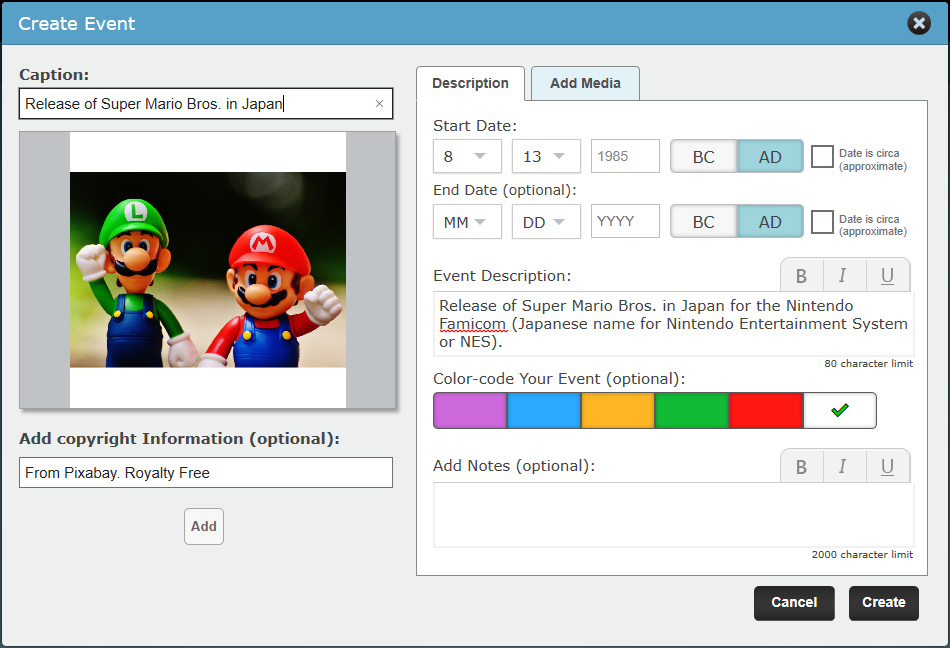
8. In this step we include the dates of the event along with a small description of the events’ significance. For our example we used the 1985 Japanese release of Super Mario Bros. You are also given the option to color code your timeline event, allowing it to stand out more with other events on the timeline. After you have entered everything hit the “create button” in order to create the timeline event!
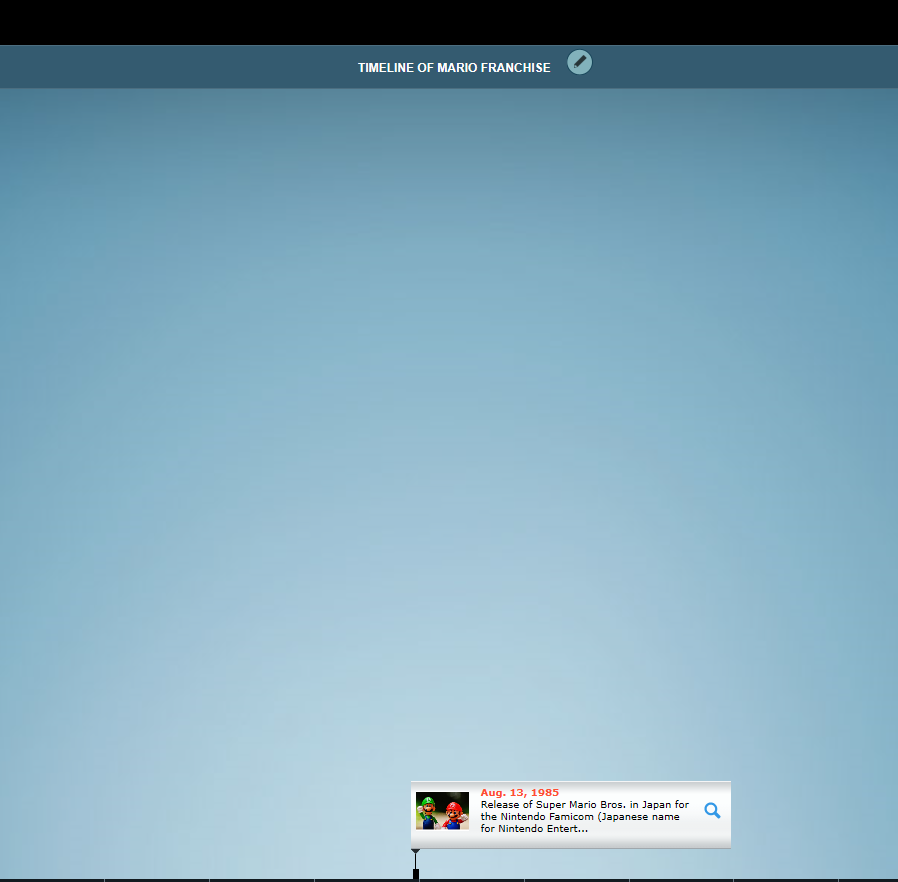
9. And with that you created your first timeline and first event! With the knowledge you’ve learned here today you are ready to expand upon the timeline example we used today or start the creation of your very own!

Add a comment to: World Book Timelines: How to Create a Timeline